Yoga for Beginners at Home: A Simple 4-Week Plan
This is for you if you want to start yoga at home, have never taken a class, and do not want to guess your way through a video. You will get the short list of what you need (almost nothing), how to breathe before you do anything else, eight foundational poses with cues and the mistakes I see most often, and a four-week plan that starts at ten minutes three times a week and builds to about twenty-five. I teach yoga for a living and I still think a slow, simple start at home is the best way in. Nothing here requires flexibility, a teacher, or a yoga body.
A note before you begin
Whatever brought you here is a fine reason. I got into yoga because it looked cool, and I was honest about that in my story of going from aesthetic to asana. The look got me onto the mat; the breath and the quiet are what kept me there. Give it four weeks and see what keeps you.
What you actually need
- A mat, or a towel on carpet. If you buy one, pick a grippy mat about 4 to 6 millimeters thick so your hands do not slide.
- Six feet of clear floor and, ideally, a wall you can put your legs up against.
- Two blocks (or a stack of hardback books) and a strap (or a bathrobe belt).
- A folded blanket or towel for under your knees.
- Ten minutes and a timer on your phone, face down.
That is the complete list. If you want to make the corner somewhere you look forward to, I covered the space, light, mat, and outfit side of things in a guide to the yoga aesthetic at home, but none of it is required for week one.
Breathing basics (do this first)
Yoga is a breathing practice with shapes attached, so learn the breath before the shapes. Sit on a folded blanket with your back comfortable and one hand on your belly.
- Breathe in and out through your nose. Let the belly rise on the inhale and soften on the exhale. If only your chest moves, slow down and try again.
- Count: inhale for four, exhale for six. Do ten rounds.
- Optional: narrow the back of your throat slightly as you exhale, like fogging a mirror with your mouth closed, so the breath makes a soft ocean sound. This is ujjayi breath, and it gives you something to listen to during poses.
The rule that keeps you safe for the rest of this article: if a pose makes your breath short, choppy, or held, back out of the pose until the breath is smooth again. The breath is the gauge. The shape is negotiable.
The eight foundational poses
Learn these eight and you can practice for years. For each one I give the setup, the cues I say most in class, the common mistake, and how long to hold.
Child’s Pose
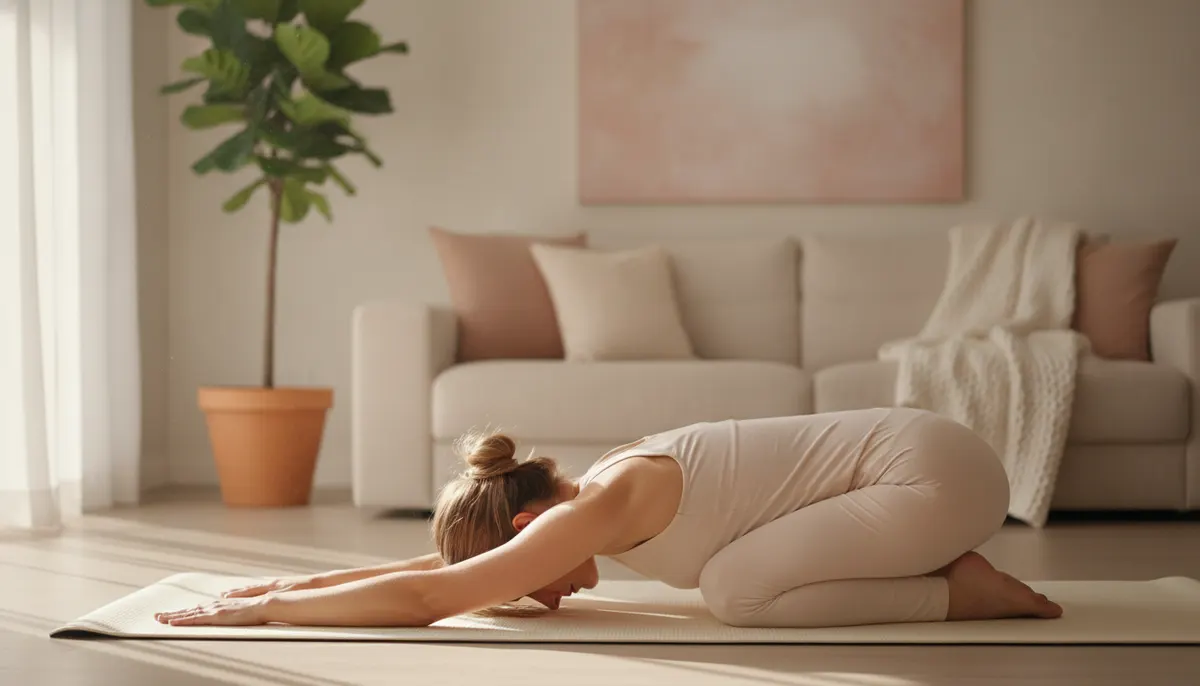
Kneel with your big toes touching and knees wide, then fold forward until your forehead rests on the mat or a block. Arms reach forward or rest back beside your feet. Breathe into your back ribs. Mistake: holding tension in the shoulders; let them fall. Hold 5 to 10 breaths, and return here any time you need a reset.
Cat-Cow
On hands and knees, wrists under shoulders, knees under hips. Inhale, drop the belly and lift the chest and tailbone (Cow). Exhale, press the floor away and round the spine, chin toward chest (Cat). Mistake: moving only the neck. Move the whole spine, starting from the tailbone. Do 8 slow rounds, one breath per movement.
Downward-Facing Dog
From hands and knees, tuck your toes, lift your hips up and back, and straighten your legs only as much as is comfortable. Spread your fingers and press through the whole hand. Bend your knees generously; the goal is a long spine, not straight legs. Mistake: rounding the back to force the heels down. Keep the knees soft and the hips high. Hold 5 breaths, rest in Child’s Pose, and repeat up to 3 times.
Low Lunge
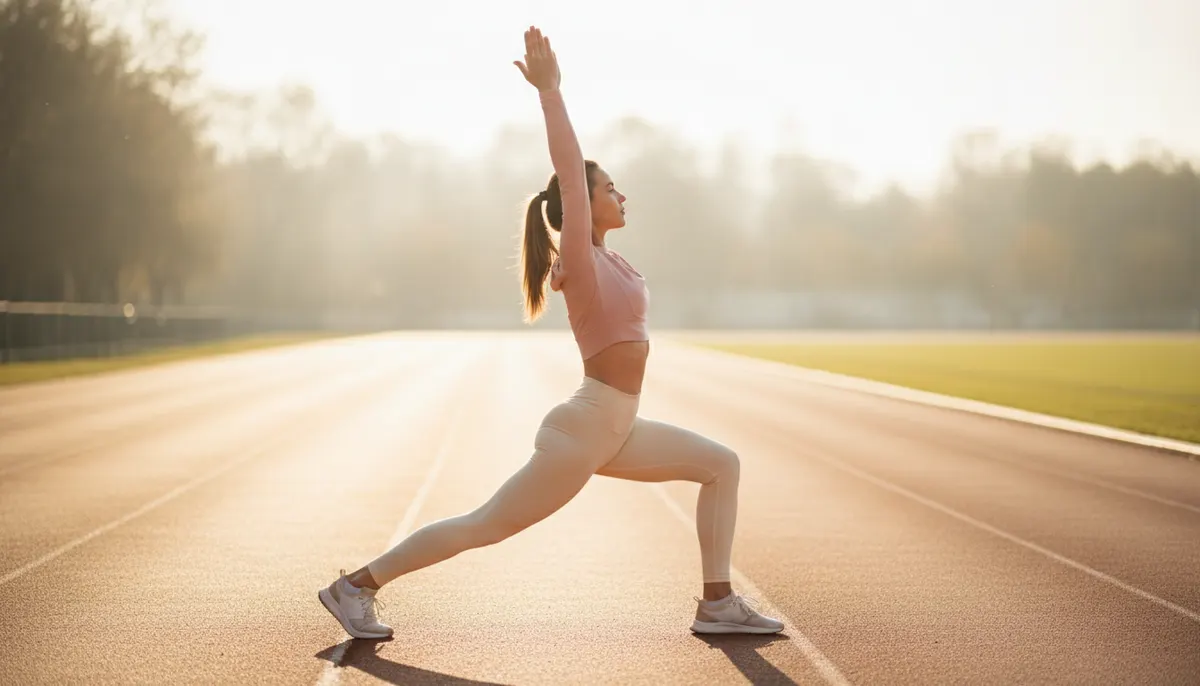
From Downward Dog, step your right foot between your hands and lower the left knee to the mat (put the blanket under it). Stack the front knee over the ankle, lift the chest, and let the hips sink forward. Hands on blocks or on your front thigh. Mistake: leaning the torso forward and losing the hip flexor stretch; stay tall. Hold 5 to 8 breaths each side.
Warrior II
Stand with your feet wide, right toes pointing forward and left toes turned in slightly. Bend the right knee toward 90 degrees, keeping it over the ankle. Arms reach out at shoulder height, gaze over the front hand. Mistake: the front knee caving inward. Press the knee gently out toward the pinky toe. Hold 5 to 8 breaths each side.
Tree
Stand tall, shift your weight into the left foot, and place the right sole on your ankle, calf, or inner thigh (never on the knee). Hands at your heart or overhead. Pick one spot on the floor and stare at it. Mistake: hunting for the highest foot placement. Low and steady beats high and wobbly. Hold 5 breaths each side, and use a wall if you need it.
Bridge
Lie on your back with your knees bent, feet flat and hip-width apart, heels close enough to brush your fingertips. Press into your feet and lift your hips. Keep the knees pointing forward and the chin slightly tucked. Mistake: squeezing the glutes so hard that the lower back arches; think “lengthen the tailbone toward the knees.” Hold 5 breaths, lower slowly, and repeat twice.
Legs Up the Wall
Sit sideways next to a wall, swing your legs up it, and lie back with your hips a few inches from the wall. Arms open, palms up. Let your breath go back to normal. This is the pose that teaches your nervous system what the end of practice feels like. Mistake: skipping it because it looks like nothing. Hold 2 to 5 minutes. Finish every session here or in Savasana (lying flat, eyes closed, for at least two minutes).
The 4-week plan
Three sessions a week, on any days, with at least one day between them if you are sore. Set a timer and keep your phone face down. Every session starts with ten counted breaths and ends with Legs Up the Wall or Savasana; those two bookends never get cut.
Week 1: 10 minutes, three times
- Seated breathing, 10 rounds (1 minute)
- Cat-Cow, 8 rounds (1 minute)
- Child’s Pose, 5 breaths
- Downward Dog, 5 breaths, then Child’s Pose, repeated twice (2 minutes)
- Low Lunge, 5 breaths each side (2 minutes)
- Bridge, 5 breaths, twice (1 minute)
- Legs Up the Wall (2 minutes)
The goal this week is not progress. It is learning the shapes well enough that you stop checking the list.
Week 2: 15 minutes, three times
Keep week one and add a standing section after the Low Lunges: Warrior II for 5 breaths each side, then Tree for 5 breaths each side. Hold Downward Dog for 6 breaths instead of 5. Add a minute to Legs Up the Wall. You will probably notice your balance is better on one side; that is normal and not something to fix this week.
Week 3: 20 minutes, three or four times
Now link the standing poses into a small flow. From Downward Dog, step the right foot forward into Low Lunge (inhale), rise into Warrior II (exhale, then hold 5 breaths), lower the hands and step back to Downward Dog (exhale). Repeat on the left. Do that sequence twice through, moving on the breath, then finish with Tree, Bridge, and 4 minutes with your legs up the wall. Holds go to 8 breaths wherever you can keep the breath smooth.
Week 4: 20 to 25 minutes, three or four times
Run the full sequence from week three, add a third round of the flow, and make one of your sessions a “listening” session: skip the list, start with breathing and Cat-Cow, and let your body choose the next pose each time. If it picks Child’s Pose four times, that is a valid practice. By the end of this week you have a complete home routine that you built yourself.
After week 4
Keep the three-sessions-a-week rhythm and start varying the flavor. Make one session longer, keep one short, and swap in a sequence built for a specific purpose (a quick wake-up, a calming evening, a slow day after a hard week) so the practice does not go stale. I point you to two of those at the end of this article.
How to know you are doing it right
Beginners worry about this constantly, so here are the honest markers.
- Your breath stays smooth through the pose. If you can keep a slow six-count exhale going, you are in the right range.
- You feel stretch or effort, not pain. Stretch is a broad, dull, spreading sensation in a muscle. Pain is sharp, pinching, or sitting inside a joint. Pain means come out.
- You feel better after than before, looser and clearer, not wrecked. Mild next-day soreness in the first two weeks is normal; limping is not.
- Small things change over four weeks. Your heels get a little closer to the floor in Downward Dog, Tree gets quieter, and you stop needing the list.
Once a week, film one session on your phone or practice next to a mirror. Check three things: wrists under shoulders in Cat-Cow, front knee over ankle in Low Lunge and Warrior II, and a long spine (not a rounded one) in Downward Dog. That is enough alignment work for the first month.
Safety and simple modifications
Yoga is gentle, but it still loads your joints, so a few things matter. If you are pregnant, recovering from an injury, or managing a condition like high blood pressure, check with your doctor or a physical therapist before starting, and tell them exactly what you plan to do; this list is short enough to show them.
- Wrists: if Downward Dog bothers them, come onto your forearms, make fists so the wrists stay straight, or place your hands on blocks angled slightly outward.
- Knees: always pad the back knee in Low Lunge. In Child’s Pose, tuck a rolled towel behind the knees if they feel crunched.
- Hamstrings and lower back: bend the knees in every forward-folding shape. Flexibility is a byproduct of practice, not a prerequisite for it.
- Neck: in Bridge, keep looking straight up and never turn your head.
- Dizziness: come up slowly from Legs Up the Wall and from Downward Dog, especially in the first two weeks.
The rule from the breathing section covers almost everything else. Smooth breath and no sharp pain, and you are fine.
If you are not sure yoga is your thing
Four weeks is enough to tell. Some people finish and realize what they loved was the slow, controlled core work more than the breath and the stillness. If that is you, pilates might be the better home for it, and I compare the two honestly in yoga vs pilates, and how to choose or do both. To try it, a beginner’s guide to pilates walks through the principles and a first mat session the same way this article does for yoga.
And if you live with someone curious, invite them onto the mat. Ten partner yoga poses for beginners use the same foundational shapes you just learned, and practicing with another person makes the habit a lot harder to drop.
Where to go next
When the four weeks are done and you want ready-made sessions, start your day with a 15-minute morning yoga routine that wakes you up without feeling like a workout, and keep a 20-minute yoga sequence for stress and anxiety for the evenings when the day got loud. Both are built from the eight poses above, so nothing in them will be new to you.