Pilates for Beginners: Principles, First Exercises, and What to Expect
Pilates has a reputation for being either a gentle stretch class or a brutal core burner, and beginners are never sure which one they signed up for. This guide clears that up. You will get the six pilates principles in plain language, the breathing and spine positions every exercise is built on, eight beginner mat exercises with cues, a first 20-minute session you can do at home, and an honest picture of what a first class feels like. I teach yoga and train clients for a living, and I am not a pilates instructor, which is exactly why I can tell you with no agenda that it is one of the best places a beginner can start.
What pilates actually is
Pilates is a system of controlled exercises developed by Joseph Pilates in the early twentieth century. He called it “Contrology,” which tells you most of what you need to know: the point is control. Every movement starts from the center of the body (the deep abdominals, the pelvic floor, and the muscles along the spine) and works outward with precision.
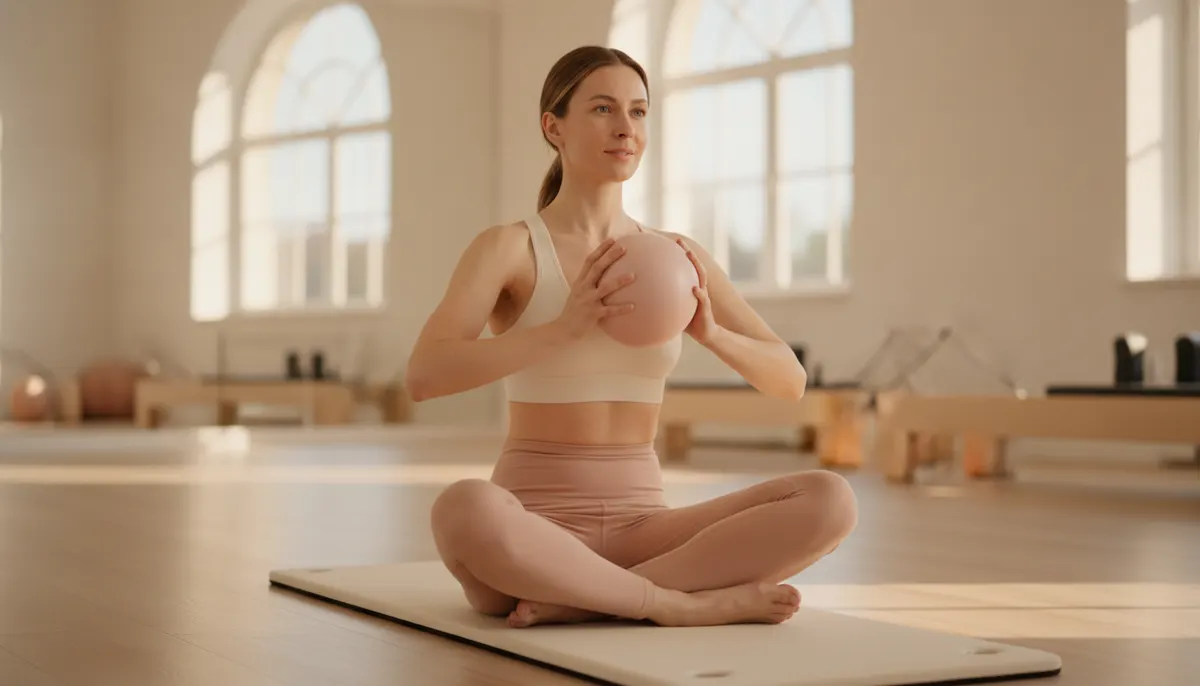
In practice, a mat pilates session is a series of lying, seated, and side-lying exercises done slowly, with specific breathing, for relatively few repetitions. Nothing is rushed. The movements look small from the outside and feel enormous from the inside.
People lump pilates in with yoga because both happen on a mat with deliberate breathing. They are different animals, and I wrote an honest comparison of yoga vs pilates if you are deciding between them. The short version: yoga is a breath-led practice that happens to build strength, and pilates is a strength-and-control practice that happens to calm you down.
The six pilates principles in plain language
Here is what each one means when you are actually on the mat.
Concentration. You pay attention to the muscle you are supposed to be using. If you are doing single leg stretch and thinking about lunch, your hip flexors will take over and your abdominals will take a nap.
Control. Nothing swings, drops, or flops. You lower your leg as slowly as you lifted it. Control is what makes a small movement hard.
Centering. Every exercise starts from the “powerhouse,” the band of muscle between your lower ribs and your hips: front, sides, and back. Before your limbs move, that center is already working.
Flow. Exercises move smoothly from one into the next, and within each rep the movement is continuous rather than jerky. Think water, not a ratchet.
Precision. One perfect rep beats ten sloppy ones. Alignment matters: where your pelvis sits, where your ribs are, whether your shoulders have crept up toward your ears.
Breathing. Breath is coordinated with movement, almost always exhaling on the hardest part. More on this below, because it is the thing beginners get wrong first.
If this list sounds like what I call core stability in the gym, that is because it is. The dead bug, bird dog, and hollow hold in my core stability routine are close cousins of the pilates exercises below, and the same rule governs both: the spine stays quiet while the limbs move.
Mat vs reformer: where a beginner should start
Mat pilates uses your body weight and the floor, sometimes with a small ball, a ring, or a band. It is free, you can do it at home, and it is harder than it looks, because nothing assists you.
Reformer pilates uses a sliding carriage attached to springs. The springs can add resistance or, surprisingly, make an exercise easier by supporting part of your weight. Reformer classes happen in studios, cost more, and give you far more feedback.
Which first? If you have the access and the budget, a few reformer sessions with a good instructor will teach you the principles fastest. If you do not, mat work at home is an honest, complete way to begin, and it is what this guide is built around.
Pilates breathing: how to do it
Pilates uses lateral breathing. You breathe into the sides and back of your ribcage rather than into your belly, so your abdominals can stay gently engaged the whole time.
Try it now. Sit tall and wrap your hands around the sides of your lower ribs. Inhale through your nose and feel your ribs expand sideways into your hands. Exhale through your mouth with a soft “haaa,” as if fogging a mirror, and feel the ribs knit back together while your lower belly draws gently in. Do five breaths.
The rule for almost every exercise: exhale on the effort. Exhale as you curl up, as you reach your legs away, as you lift. Inhale to prepare or to return. If you catch yourself holding your breath, which you will, that is your cue to make the movement smaller.
Neutral spine vs imprint
Two positions come up in every beginner class, and knowing them keeps your lower back happy.
Neutral spine is the natural shape of your spine when you lie on your back with your knees bent: a small curve in your lower back, pelvis level, hip bones and pubic bone on the same plane. You could slide a hand partway under your lower back. To find it, rock your pelvis so your lower back presses flat, then arch it away, then settle halfway between.
Imprint is a slight tilt of the pelvis so your lower back softens toward the mat and the belly button draws down. You use imprint when both legs are off the floor, because that is when the lower back wants to arch and the abdominals need help.
The practical guideline: use neutral when at least one foot is on the floor, and imprint when both legs are in the air, until your abdominals are strong enough to hold neutral there too.
Eight beginner mat pilates exercises
You will need a mat, plus a small folded towel under your head if your chin tips up. Do these slowly. The reps are a starting point, not a target.
Pelvic curl
Lie on your back, knees bent, feet hip-width apart and flat, arms by your sides. Exhale and tilt your pelvis so your lower back presses into the mat, then keep peeling the spine up one vertebra at a time until you are resting on your shoulder blades. Inhale at the top. Exhale and roll down from the top of the spine, bone by bone, tailbone last. Do 6 to 8.
Cue: imagine your spine is a string of pearls you are laying down one at a time. Watch for: pushing into the neck, or lifting so high that your ribs flare.
Modified hundred
Lie on your back in imprint, knees bent and lifted so your shins are parallel to the floor (tabletop). Curl your head and shoulders up, gaze toward your knees, arms long by your hips and hovering. Pump the arms up and down a few inches: inhale for five pumps, exhale for five pumps. That is one set of ten. Beginners aim for 3 to 5 sets and build toward the full hundred over a few weeks.
Cue: keep the lower belly scooped and the neck long; the pumps are small and come from the shoulders. Watch for: the neck doing the work. If it strains, keep your head on the mat and pump the arms only.
Single leg stretch
Same start as the hundred: imprint, head and shoulders curled up, knees in tabletop. Draw your right knee toward your chest with your hands lightly on the shin, and extend the left leg out at about 45 degrees. Exhale and switch legs. Alternate for 8 to 10 per side.
Cue: the torso stays completely still; only the legs trade places. Watch for: the lower back arching off the mat as the leg extends. If it does, extend the leg higher toward the ceiling.
Spine stretch forward
Sit tall with your legs extended in front of you, about mat-width apart, feet flexed, arms reaching forward at shoulder height. Inhale and grow taller. Exhale and round forward from the top of your head, as if curling over a beach ball, reaching the fingertips toward the toes without collapsing. Inhale to stack back up, vertebra by vertebra. Do 5 to 6.
Cue: this is a round, not a fold; keep the belly pulled back, away from the thighs. Watch for: hinging from the hips with a flat back, which turns it into a hamstring stretch. Sit on a folded blanket if your lower back rounds when you try to sit tall.
Side-lying leg lifts
Lie on your right side with your body in one long line, head resting on your arm, legs stacked and slightly forward of your hips. Flex your top foot, inhale, and exhale to lift the top leg to hip height, no higher. Inhale to lower it with control. Do 10 to 12, then 10 small circles in each direction, then switch sides.
Cue: lift from the outer hip, not by swinging; keep the waist lifted off the mat. Watch for: the top hip rolling backward. Stack it directly over the bottom one.
Swimming prep
Lie face down, forehead on a folded towel, arms reaching overhead, legs long. Exhale and lift your right arm and left leg an inch or two. Inhale to lower. Switch. Do 8 to 10 per side, slowly.
Cue: reach the fingers and toes toward opposite walls; think long, not high. Watch for: crunching the lower back by lifting the leg too far. Keep the pubic bone pressed into the mat.
Roll down (half roll back)
Sit tall with knees bent, feet flat, hands holding the backs of your thighs. Exhale, tuck your pelvis, and round your lower back as you roll halfway down toward the mat, arms straightening but hands still on the thighs. Inhale and hold. Exhale and curl back up to tall sitting. Do 6 to 8. This is the preparation for the full roll up.
Cue: scoop the belly into a “C” and lead with the lower back. Watch for: dropping back with a flat spine. If you feel it in your hip flexors instead of your abdominals, make the roll shallower.
Bridge with march
Set up as for pelvic curl, then lift your hips into a bridge in one piece, keeping the spine neutral. Hold the hips level and exhale to lift your right foot an inch off the mat. Inhale to place it down. Alternate for 6 to 8 per side without letting the hips dip or twist.
Cue: press through the standing heel and keep both hip bones pointing at the ceiling. Watch for: hamstring cramping, which means the glutes are not sharing the work. Lower the hips slightly and press both feet down more evenly.
Your first 20-minute pilates session at home
Do this two or three times a week for the first month. Keep a towel and a blanket nearby.
- Lateral breathing, lying on your back, 10 breaths (2 minutes)
- Pelvic curl, 8 reps (2 minutes)
- Modified hundred, 3 to 5 sets (2 minutes)
- Single leg stretch, 8 per side (2 minutes)
- Roll down, 6 reps (2 minutes)
- Spine stretch forward, 5 reps (2 minutes)
- Side-lying leg lifts and circles, both sides (4 minutes)
- Swimming prep, 8 per side (2 minutes)
- Bridge with march, 6 per side (1 minute)
- Lie on your back, knees bent, and breathe (1 minute)
The timings include setting up and resting between exercises. If something aches in a joint rather than a muscle, skip it and come back another day. If you are pregnant, postpartum, or have a back or neck injury, check with your doctor or a physical therapist first, and tell any instructor you work with.
What to expect in your first pilates class
You will do less than you expect. A beginner class might cover ten exercises in 50 minutes. The instructor will cue constantly: ribs down, shoulders away from the ears, lengthen the back of the neck, scoop. That is not criticism. It is the whole point of paying for a class.
It will feel small and awkward. Most people spend the first few classes feeling uncoordinated, especially around the breath. Everyone in the room went through the same thing.
You will feel it in places you did not know existed. Deep abdominals, inner thighs, the muscles between the shoulder blades. Soreness a day or two later is normal. Pain in a joint is not.
Reformer specifics. Wear fitted clothes (loose shorts get caught in springs) and bring or buy grip socks. Arrive early so the instructor can show you the carriage, the straps, and the footbar.
Results arrive quietly. The first thing most people notice is not a visible change but a different feeling: standing taller, lifting things from the center rather than the back, less low-back ache. That usually shows up after a few weeks of consistent practice.
Common beginner mistakes (and the fix for each)
Holding your breath. The fix is boring: go slower and smaller until you can breathe through every rep.
Pulling on your neck. If your hands are behind your head, they are a shelf, not a lever. Lead the curl with your chest and keep a fist of space under your chin.
Making the movements big. Big movements let momentum and the hip flexors take over. If you cannot feel your abdominals, shrink the range.
Over-tucking the pelvis. Imprint is a soft release of the lower back toward the mat, not a jammed flattening. If your glutes are gripping, you have gone too far.
Chasing the burn. Burn is nice. Control is the goal. A rep you controlled with no burn did more for you than a rep you flailed through on fire.
Expecting it to feel like yoga. Pilates will not give you long, meditative holds or deep stretching, and it is not supposed to. If what you actually want is breath-led flexibility and calm, you may be happier with yoga, or with both.
Skipping the basics for the fancy stuff. Teasers and rollovers look great online. The eight exercises above are what make them possible. Give them a month first.
Where to go next
If you want the breath and flexibility side of mat work, my 4-week beginner yoga plan for home pairs well with two pilates sessions a week; the two practices cover each other’s gaps. And once the control you build here feels solid, that center is the foundation for adding load. My strength training guide for beginners picks up where this leaves off.